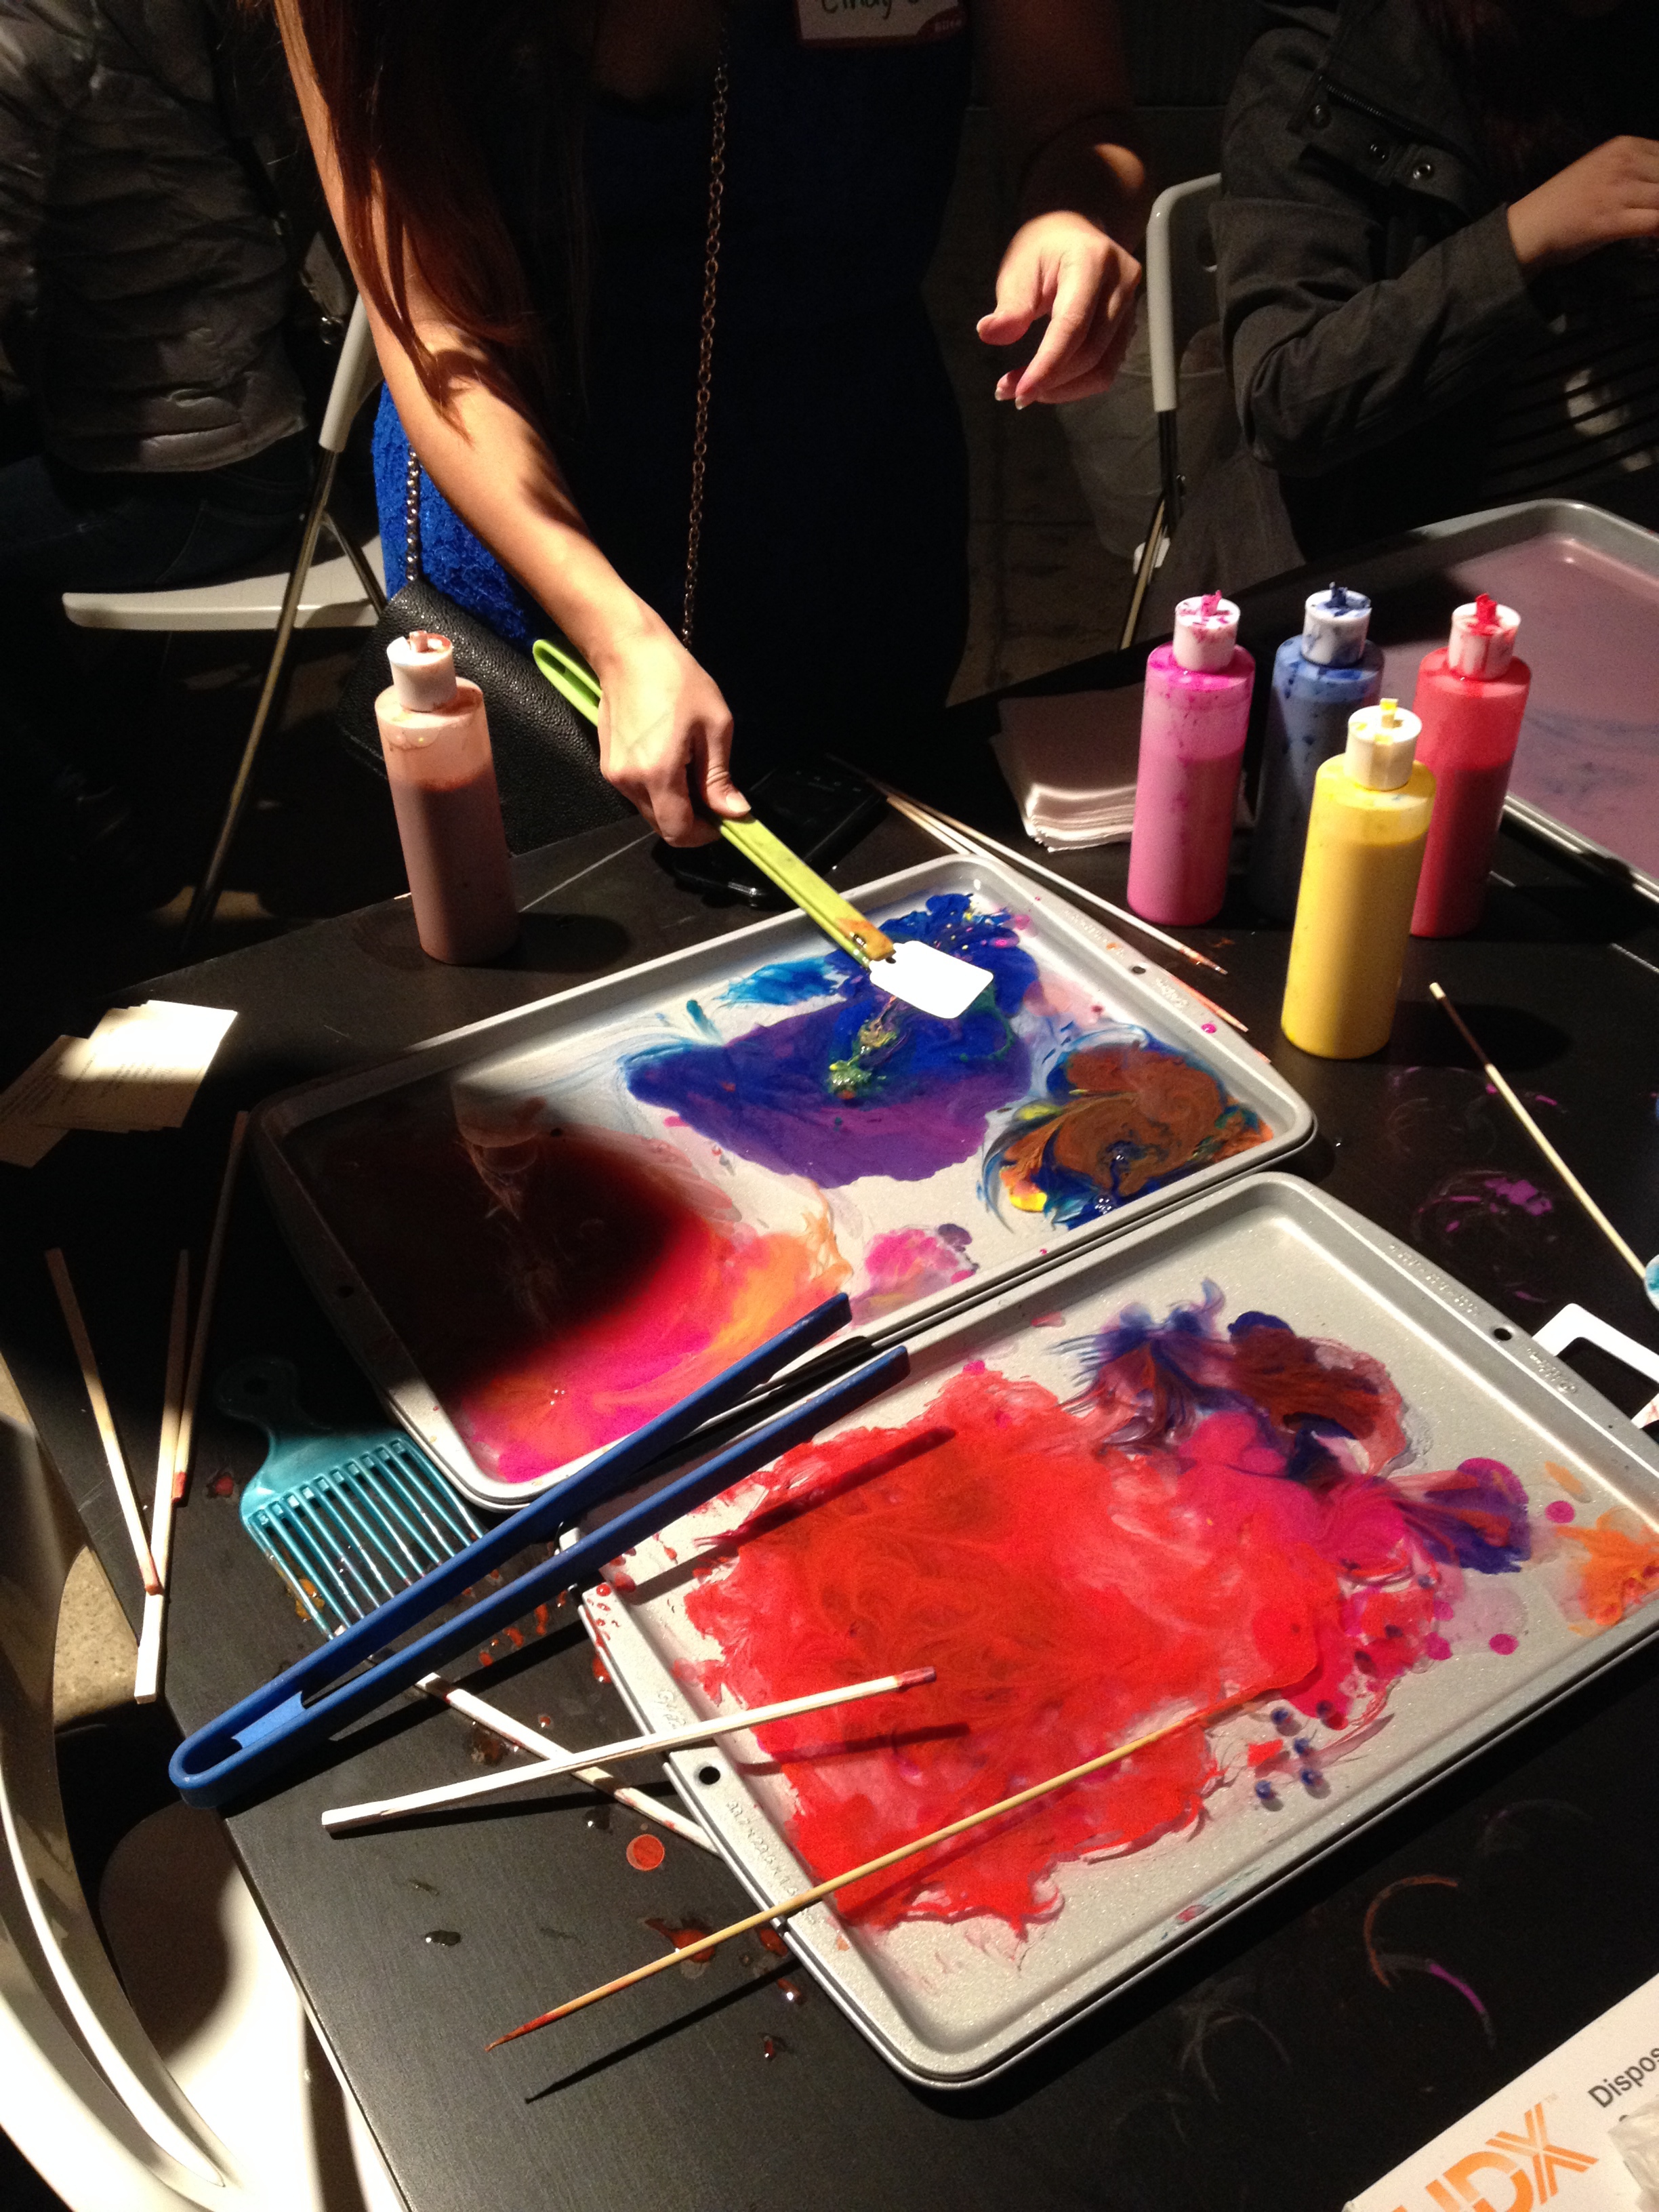

Last Saturday I taught a Valentine's Day card making workshop to a full house at The Dancing Cat, the cat adoption space I have been working with for the last six months. It is so much fun teaching here. Everyone is in such a good mood because there are cats everywhere. The lighting is also spectacular (north facing - ideal painting light!) and it is so clean and cute in there.

My original examples
The Valentine's Day card class was great because we didn't stick to just one painting and they had the opportunity to make three cards. I brought a box of donuts from Rollo's, our neighborhood spot, because I thought we had to have sweets for this event. You can see my examples above. The participants got super creative and it was really exciting to see what they did.
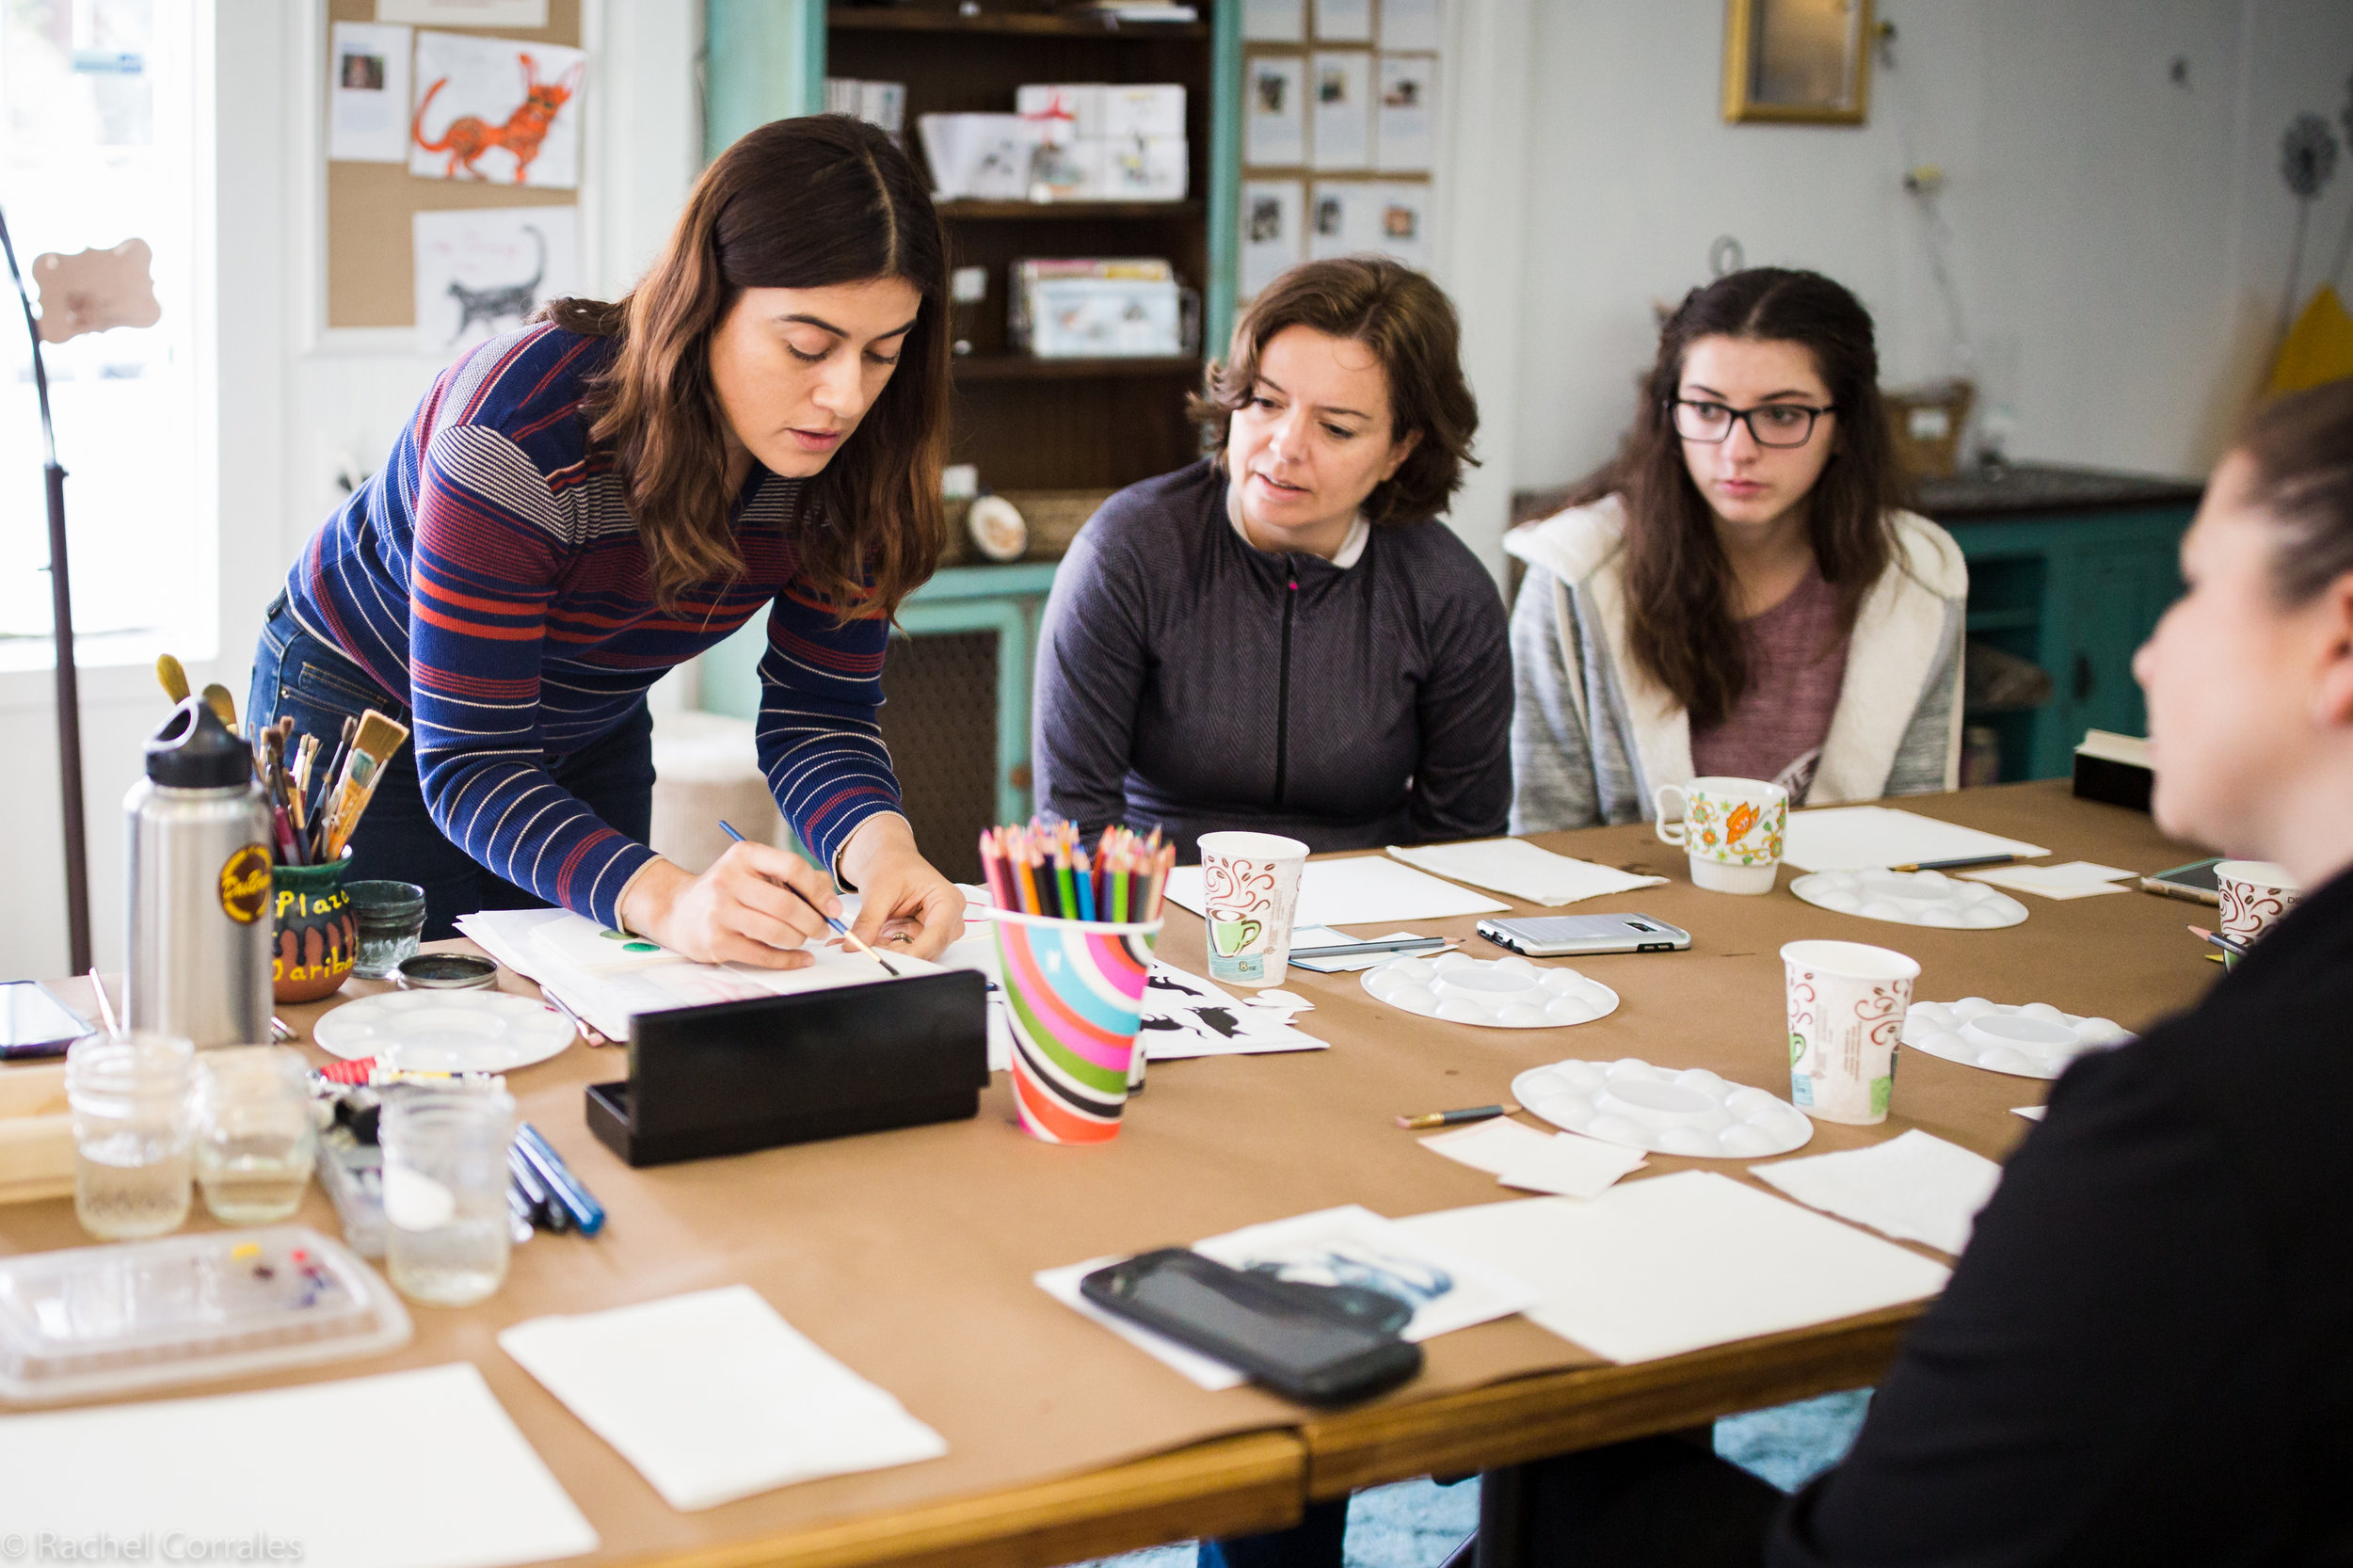
Photo by Rachel Corrales
Here I am demonstrating watercolor techniques.
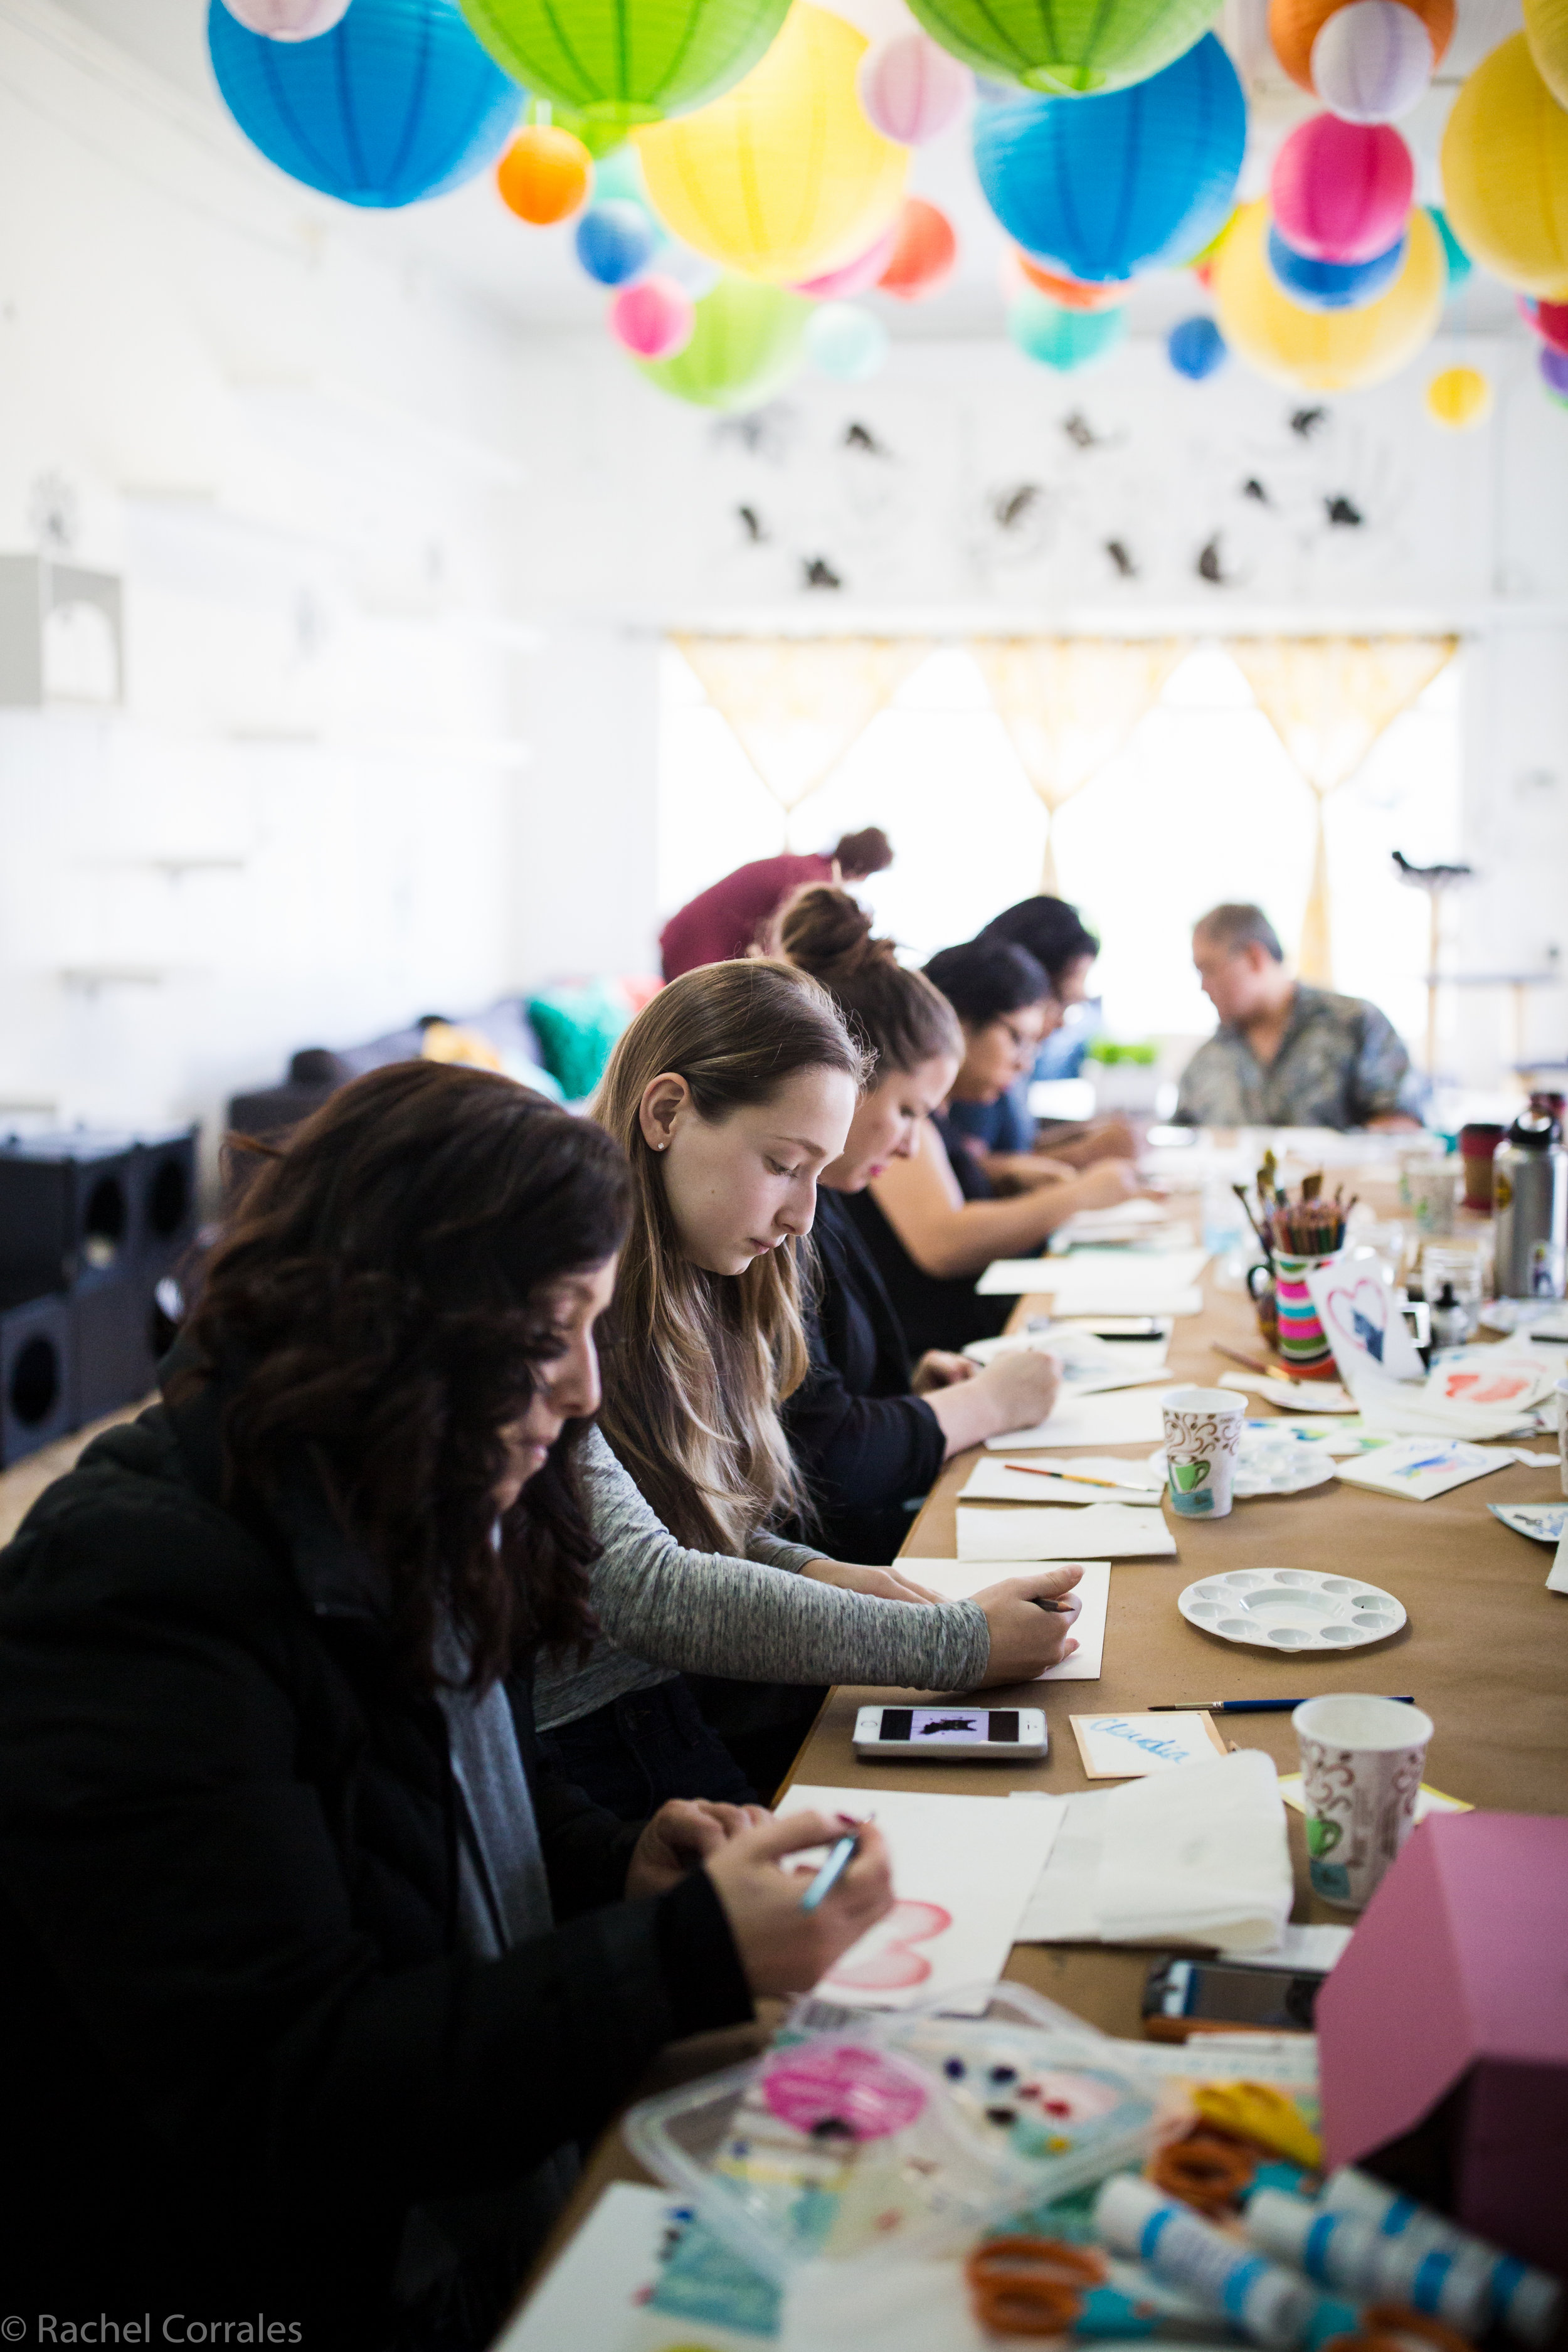
Photo by Rachel Corrales
Photographer Rachel Corrales captured really great shots of the event. And yes, it always looks this good at The Dancing Cat.

Photo by Rachel Corrales
I love the range of people that The Dancing Cat workshops attract: male, female, all ages. I love how it attracts couples, mothers and their daughters, friends and solo guests. They all have a blast working and checking out each other's work.

Photo by Rachel Corrales
The man above had not used watercolor paint before. He did great with blending and brush control.

His cards turned out great!

Photo by Rachel Corrales
Sometimes the cats 'help.'

Photo by Rachel Corrales
I like to go around with paper and pencil to help the artists with any drawing questions they might have. Giving one on one attention after the initial overview is one of my favorite parts of teaching.

Everyone had their cards standing up and they looked so great together.

Photo by Rachel Corrales
Isn't this one adorable? The artist had not used watercolor since she was a kid and at first was frustrated with this card. I encouraged her to keep pushing through, that we each have our own style. I also have a black cat, so I know what stands out most is their eyes, so we talked about that as well. I think she absolutely nailed it!

Photo by Rachel Corrales

I love seeing how the participants run with the ideas. This artist chose to make two similar to my examples, yet she added her own twist. I also love the composition of the one on top with the askew heart.

This artist did such a great job on the eyes.

One of the participants made these gorgeous cards. She normally uses oil and acrylic, saying she gets frustrated with watercolor. I think she's pretty brilliant with it!
HUGE thanks to Rachel Corrales Photography for taking such great shots of the event! Check out the link to her site. Her work is stunning and I was so happy to have her there to document the event...and talk cats and dogs.